Print #3 — The pencil cup: learning to think hollow
Until now, your prints have been small and solid. The pencil cup changes that. It's your first hollow object — and it introduces one of the most important decisions in 3D printing: how thick should the walls be, and how much infill do you actually need?
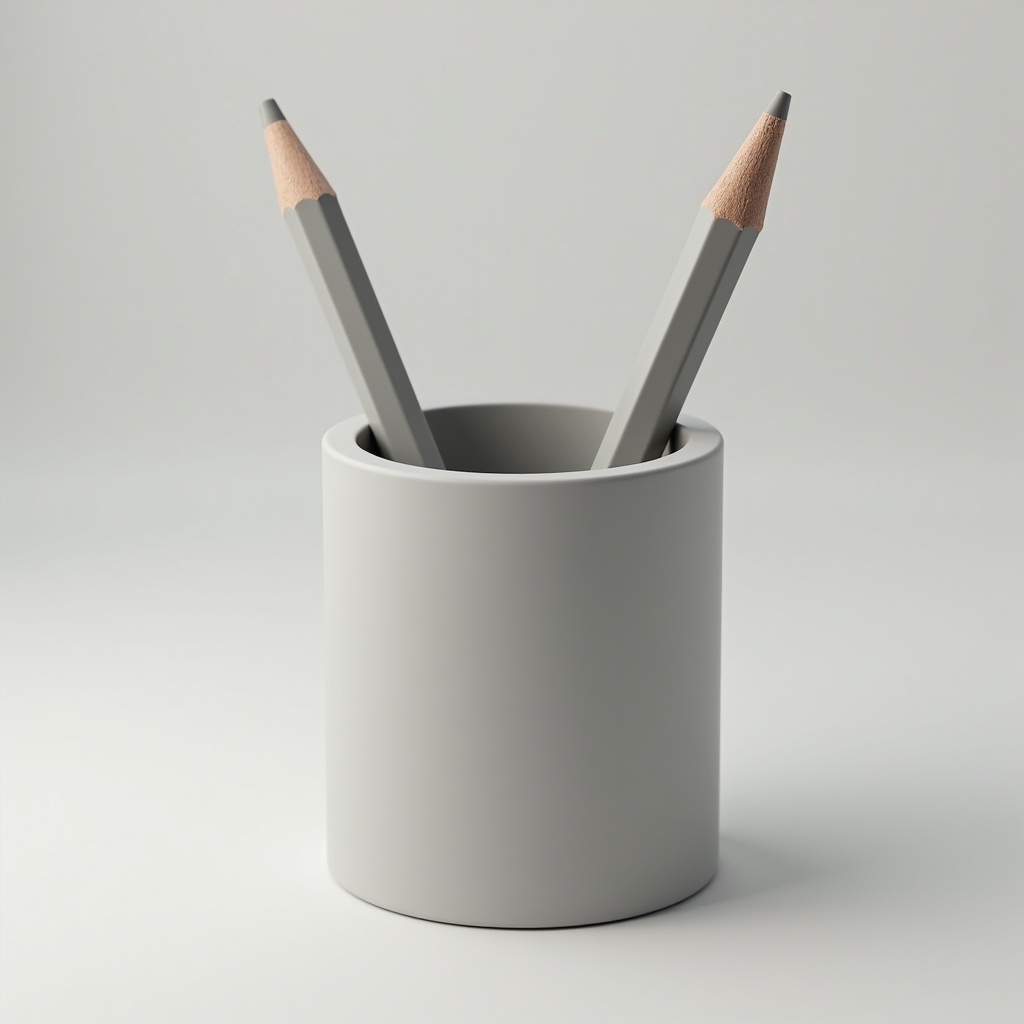
Until now, your prints have been small and solid. The pencil cup changes that. It's your first hollow object — and it introduces one of the most important decisions in 3D printing: how thick should the walls be, and how much infill do you actually need?
The hollow printing concept:
When you slice a hollow object like a cup, your slicer creates:
- Perimeters (walls): the outer shells of the object
- Infill: the internal structure between walls
- Top/bottom layers: solid layers that close the object
For a pencil cup, you don't need a heavy internal structure. The walls carry the load. This is where you learn to trust your settings — and stop over-engineering everything.
Two approaches:
Standard hollow print:
- 2–3 perimeters (walls)
- 15% infill
- 3 top/bottom layers
- Result: sturdy, uses ~30–40g of filament
Vase mode (Spiralize Outer Contour):
Enable this in your slicer and the entire cup prints as a single continuous spiral — one wall, no infill, no top. Printing time drops by 50%. The result is lighter, slightly more fragile, but beautiful.
What you learn: vase mode is one of the most elegant tricks in FDM printing. Once you know it exists, you'll use it constantly.
Recommended settings:
- Layer height: 0.2mm
- Walls: 3 perimeters (or vase mode)
- Infill: 15% (standard) / 0% (vase mode)
- Bottom layers: 4
- Speed: 45mm/s
What can go wrong:
- *Cup wobbles:* increase bottom layers to 5–6 for a flatter base
- *Walls feel thin:* add a 4th perimeter
- *In vase mode, layer lines visible:* reduce layer height to 0.15mm for a smoother spiral
Why this print matters:
The pencil cup teaches you that infill is not about strength by default — it's about weight and material cost. A 15% infill pencil cup holds your pens just as well as a 50% one, but uses half the filament and prints in half the time. Think like an engineer, not a maximizer.
Ready to layer up? → Print #4: The Protective Cap: Welcome to the Real World