Print #9 — The phone stand: learning to beat gravity
The phone stand is where 3D printing gets structural.
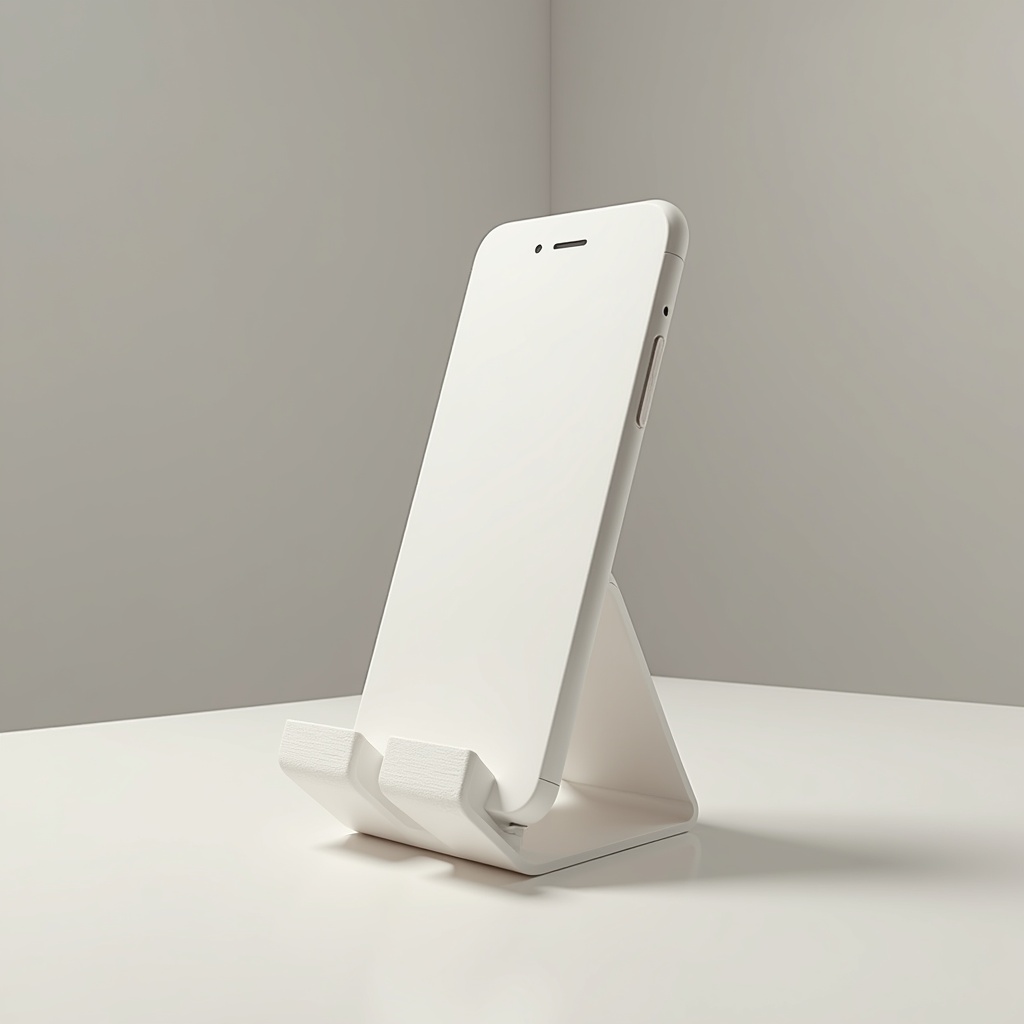
The phone stand is where 3D printing gets structural.
It needs to hold weight. It needs to stand up without tipping. And if it has an angled groove — the thing that actually holds the phone — it introduces your first real overhang challenge: printing surfaces that extend into mid-air.
What an overhang is:
In FDM printing, every layer is deposited on the layer below it. But what happens when a layer extends beyond the layer below? That's an overhang. Up to 45° from vertical, most printers handle it fine. Beyond 45°, the filament sags and curls.
The phone groove is typically angled at 60–70°. This is where you face a choice:
Option A — No supports:
Choose a model specifically designed without overhangs (flat back, vertical front, phone leans against it). These are the most beginner-friendly. The groove is replaced by a vertical notch or a stepped design.
Option B — Support structures:
Your slicer generates temporary structures under overhangs. They print, support the overhang, and you remove them after. The challenge: removing supports can leave marks on the surface.
For your first phone stand: choose a no-support model. Learn supports on a print where surface quality matters less.
Stability: the physics of not tipping:
A phone stand tips when the phone's weight creates a moment (torque) around the base. The fix:
- Wide base relative to the height
- Heavy base — increase infill at the bottom, use lighter infill at the top
- Low center of gravity — the contact point should be as low as possible
Check the model's proportions before printing. If it looks like it could tip with a heavy phone case, it probably will.
Recommended settings:
- Layer height: 0.2mm
- Infill: 20% (increase base infill to 25% if the stand seems light)
- Walls: 3 perimeters
- Supports: only if the model requires them
- Brim: 5mm (stands have small footprints — add adhesion)
What can go wrong:
- *Stand tips easily:* the model base is too narrow. Pick a different design or scale the base width up by 115% in your slicer (scale non-uniformly).
- *Phone slides out of groove:* add a small rubber band or print a clip variant.
- *Overhang looks stringy:* temperature too high. Reduce by 5°C.
Why this print matters:
The phone stand is your first truly structural print — it has to perform, not just exist. And it introduces the overhang concept, which unlocks a completely new design space once you understand it.
Ready to layer up? → Print #10: The Wall Hook: When Infill Finally Matters