Print #15 — The drawer handle: when plastic meets metal
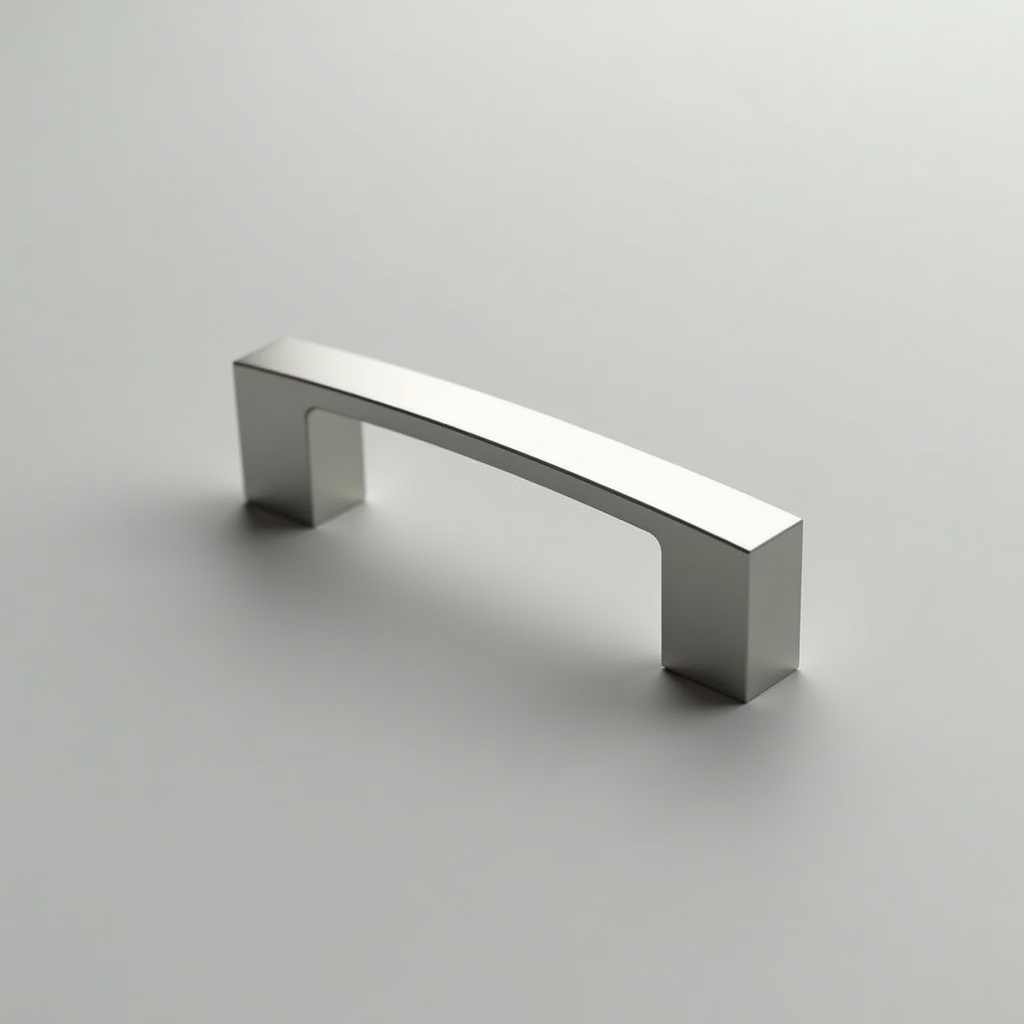
Title: Print #15 — The Drawer Handle: When Plastic Meets Metal
Screwing a bolt directly into PLA is always a compromise. The plastic threads strip with repeated use. The connection loosens over time. For a coat hook or a quick prototype, fine. For a drawer handle you'll use daily for years? You need something better.
Heat-set inserts are that something better.
A heat-set insert is a small knurled brass cylinder. You melt it into your printed part using a soldering iron. The plastic flows into the knurling and locks the insert in place. Now you have real metal threads — the same M3, M4, or M5 threads you'd find in any precision-machined part. They won't strip. They won't loosen.
Why this changes everything:
- Screws can be removed and reinstalled hundreds of times
- Metal-to-metal contact (screw to insert) vs. metal-to-plastic (which always degrades)
- Flush installation — the insert sits flush with the surface, looking professional
- Pull-out force for a properly installed M3 insert: 30–50kg depending on plastic depth
The hardware you need:
- Heat-set inserts (M3 is the most common for 3D printing projects — buy a 50-pack for ~€5)
- A soldering iron (any cheap iron works; a dedicated tip shaped like the insert OD makes it easier)
- Screws: M3 × 16mm cap head screws for a standard drawer handle
- Drill and cabinet if mounting to furniture
How to install heat-set inserts: 1. Design or find a model with insert holes (diameter = insert OD, typically 4.0–4.2mm for M3) 2. Heat soldering iron to 200–220°C 3. Place insert on the hole (it should rest there without falling in) 4. Press straight down with the iron tip — the insert melts in slowly 5. Push until the insert is flush (or 0.3mm below surface) 6. Remove iron. Wait 30 seconds. Don't move the part. 7. Test with a screw — it should thread in smoothly
Common insert sizes for 3D printing:
| Screw | Insert OD | Insert Length | Use case |
|---|---|---|---|
| M2 | 3.2mm | 4mm | Electronics, small parts |
| M3 | 4.0–4.2mm | 5–6mm | Handles, cases, brackets |
| M4 | 5.0–5.2mm | 6–8mm | Load-bearing connections |
| M5 | 6.0–6.4mm | 8–10mm | Heavy structural assemblies |
Designing for inserts: The insert hole should be 0.1–0.2mm smaller than the insert's stated OD. The insert melts its way in — you want the plastic to grip. Too large: the insert floats and doesn't bond. Too small: you apply too much pressure and deform the surrounding wall.
Print at least 3–4 wall perimeters around the insert hole. The surrounding plastic is what resists pull-out force — you need material there.
Recommended settings for the handle:
- Layer height: 0.2mm
- Infill: 30–40% (handles aren't high-stress when screwed tight)
- Walls: 4 perimeters (crucial near insert holes)
- Top/bottom layers: 4
- Supports: use if handle has curved underside overhangs
- Material: PLA works for indoor light-use handles; PETG for anything that will see repeated force or higher temperatures
What can go wrong:
- Insert goes in crooked: you pushed at an angle — pull it out (reheat), clean the hole, retry. A guide tip makes this much easier
- Insert spins when you try to tighten a screw: you didn't let it cool fully — 30 seconds minimum before testing
- Insert sits too deep and disappears: push less next time; if too deep now, use a longer screw
Beyond drawer handles: Once you've installed heat-set inserts, you'll use them everywhere: electronics enclosures, snap-together cases, robot parts, camera mounts. Any print that needs to be opened, closed, or adjusted repeatedly needs real threads. This is the skill that makes your prints feel like manufactured products.
Ready to layer up? → Print #16: The Raspberry Pi Case: Enclosures That Breathe