Print #16 — The Raspberry Pi case: enclosures that breathe
Title: Print #16 — The Raspberry Pi Case: Enclosures That Breathe
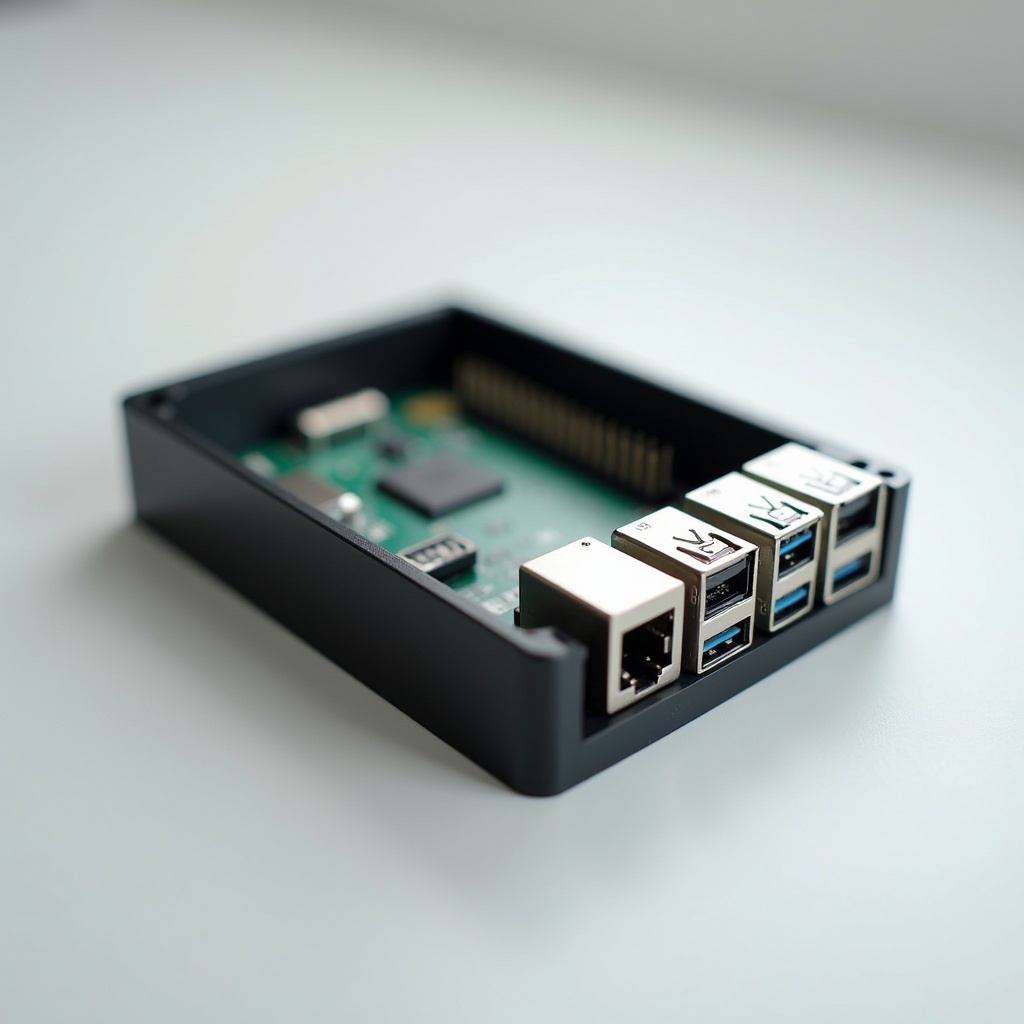
A Raspberry Pi without a case is a €35–80 single-board computer balanced on nothing, collecting dust, one accidental bump away from a short circuit.
A Pi in a well-designed 3D printed case is protected, organized, and running stable.
The difference between "a box" and "a good enclosure" is this: a good enclosure is engineered, not just modeled.
Why functional enclosures are harder than they look: Anyone can model a rectangle around a Pi. The challenge is everything else:
- Port cutouts: exact positions for USB, HDMI, Ethernet, GPIO, SD card, USB-C power
- Ventilation: the Pi 4 runs hot under load — without airflow, throttling kicks in at 80°C
- PCB mounting: standoffs at the exact hole spacing (56mm × 49mm for Pi 4) that hold the board without stress
- Assembly: the case needs to open (for SD card, maintenance) without breaking the clips each time
Choosing the right case for your Pi model: Pi 3, Pi 4, Pi 5, Pi Zero 2W, Pi CM4 — each has a different form factor, different port positions, different thermal requirements. Always search with the exact Pi model number. A Pi 4 case will not fit a Pi 5. The hole spacing is different. The port positions shifted.
Verify before printing:
- Search "Raspberry Pi 4 case" not just "Raspberry Pi case"
- Check that the model includes your Pi revision (Pi 4 B, Pi 5, etc.)
- Read comments on Printables/Thingiverse — someone will have flagged fitment issues
Ventilation design principles: The Pi 4 needs airflow. Options in increasing effectiveness: 1. Passive vents (holes in top/sides): fine for light use (media player, home automation) 2. Active fan mount: models with a 30mm or 40mm fan cutout and mounting holes. Add a 5V fan connected to GPIO pins 4 and 6. 3. Active cooling + heatsink combo: most effective — print a case with heatsink slots and a fan. Pi 5 especially benefits from this.
For a passive case with PLA: keep the Pi in a well-ventilated space. Don't put it in a closed cabinet.
Multi-part print assembly: Most Pi cases print in 2–4 parts: base, lid, optional fan mount, optional GPIO cover. This means:
- Each part needs to print with good tolerances (back to Print #11)
- Assembly clips or snap fits need to work after printing (see Print #11 again)
- Consider using heat-set inserts (Print #15) for lids you'll open often — screws beat snaps for longevity
Material considerations:
- PLA: fine for Pis running light workloads indoors. Not recommended if the Pi runs hot continuously (consider a fan then)
- PETG: slightly better thermal resistance. Good choice if the Pi runs at high load continuously
Recommended settings:
- Layer height: 0.2mm
- Infill: 25–30% (box walls carry the structure)
- Walls: 3–4 perimeters
- Top/bottom layers: 4
- Supports: only if the model has overhanging port cutouts (most well-designed cases avoid this)
- Speed: 45mm/s — slower for port cutout walls where precision matters
What can go wrong:
- Ports don't align with cutouts: you printed the wrong Pi model case — double check the model, remeasure your board
- Pi overheats in case: passive case isn't enough for your workload — add a fan, or switch to a vented design
- Lid clips break when opening: snap fits on PLA eventually fatigue — upgrade to screw mount with M2.5 heat-set inserts
Why this print matters: A Raspberry Pi case is a microcosm of professional product design. Ventilation, tolerances, port cutouts, PCB alignment, assembly mechanism — these are exactly the same considerations industrial enclosure designers solve. You're solving them in 3 hours, for €1 of filament.
Ready to layer up? → Print #17: The GoPro Mount: Engineering for Motion