Print #19 — The mold: when the print is the tool, not the object
Title: Print #19 — The Mold: When the Print Is the Tool, Not the Object
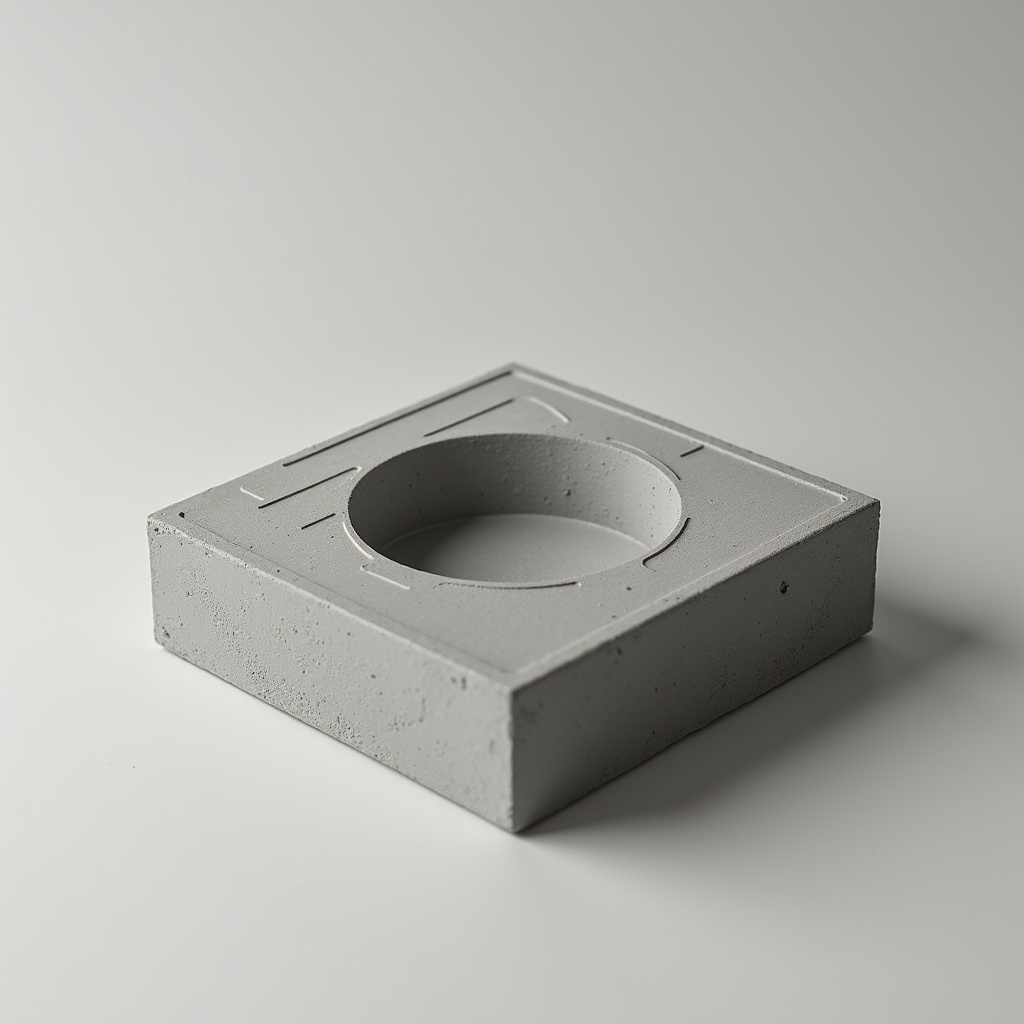
Until now, every print in this series has been the final object. This one isn't.
A mold is a tool that creates something else. The print disappears into the process — what comes out is soap, concrete, resin, plaster, chocolate. The 3D printer becomes a manufacturing tool, not just a fabrication machine.
This is a conceptual shift worth understanding: the value of a print isn't always the print itself.
Designing for a mold, not an object: A mold has completely different design requirements than a structural part:
Draft angle: The single most important mold design concept. A draft angle is a slight taper on vertical walls — typically 1–3° — that allows the cured material to release without binding against the mold wall. Without draft angle, soap sticks. Concrete locks. The mold cracks when you try to remove the cast. Rule: never design a mold with perfectly vertical walls unless you're using a flexible material (PETG or silicone-coated).
Surface finish: The surface of your mold becomes the surface of your cast. Layer lines in the mold = layer lines on your soap. To get smoother results:
- Use 0.15mm layer height instead of 0.2mm
- Sand the interior of the mold (start 220, finish 400–600 grit)
- Apply a mold release agent (petroleum jelly for soap, release spray for concrete)
- Spray the interior with a thin coat of acrylic lacquer before casting — fills micro-grooves
Watertightness: Liquid soap batter, resin, or wet concrete will find any gap. Your mold must be watertight:
- Print with 4+ walls
- 100% infill for the bottom layer or base walls
- Use PETG for any mold holding wet concrete — PLA can absorb moisture and distort over multiple uses
Material choice by application:
| Material to cast | Recommended mold material | Notes |
|---|---|---|
| Cold process soap | PLA | Low temperature, use petroleum jelly as release |
| Hot process soap | PETG | PLA deforms at soap temperatures (60–80°C) |
| Concrete / cement | PETG | PLA absorbs water, degrades over multiple pours |
| Resin (UV or epoxy) | PETG or ABS | Exothermic reaction generates heat — PLA can warp |
| Plaster | PLA | Fine for single-use or low volumes |
| Chocolate / sugar | PLA | Food-safe PLA exists, but verify the specific filament |
The demolding moment — what can go wrong: The critical test of a mold is whether the cast releases cleanly. If it doesn't:
- Sticks to walls: not enough draft angle, or no release agent — redesign with 2° draft, reapply petroleum jelly
- Concrete cracks the mold when demolding: walls too thin on the mold — add 2mm minimum wall; for concrete, 3–4mm
- Surface has layer lines that won't sand out: use filler primer on the cured cast instead of trying to fix it in the mold
Soap mold specifics: Cold process soap is made at low temperature (around 40–50°C at pour). PLA handles this fine. Key points:
- Use petroleum jelly or coconut oil as release agent
- Pour at the right temperature — too hot and soap batter shrinks more on cooling, gripping the mold
- Wait full cure time before demolding (24–48h for CP soap)
- Silicone spray gives better release than petroleum jelly for repeat use
Concrete mold specifics: Concrete shrinks slightly as it cures — which actually helps demolding. But wet concrete is alkaline and heavy:
- PETG is more alkaline-resistant than PLA
- Design pour holes large enough for concrete to flow without air pockets
- Vibrate the mold gently after pouring to remove air bubbles (tap on table repeatedly)
- Wait 24–48h minimum before demolding — concrete gains strength over time
The deeper lesson: Once you understand mold thinking, you start seeing prints differently. Every shape can be a mold for something else. Enclosures become casting molds. Curved surfaces become stamps. A 3D printer connected to traditional crafts — soap making, concrete casting, resin art — multiplies what you can make without buying new tools.
Ready to layer up? → Print #20: The Replacement Part: Reverse Engineering Your Way to a Repair